Sunday, July 31, 2011

Sunday Stitching

Last week I painted, this week I stitched!  The technique for this week was to stitch a frame for needlework.  I decided to use one of the pieces I stamped last week.

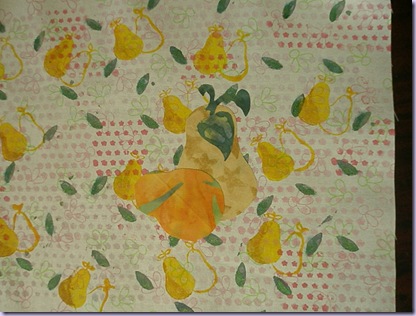
P7310003

After the first layer of paint had dried, I stamped the yellow pears onto the background.  Today, I fused a couple of larger pear shapes to the piece.

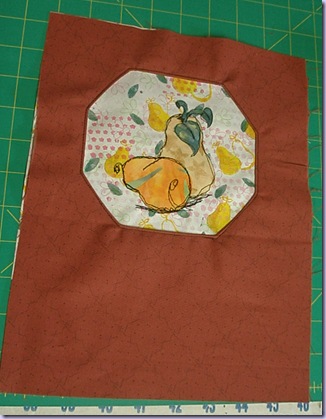
P7310004

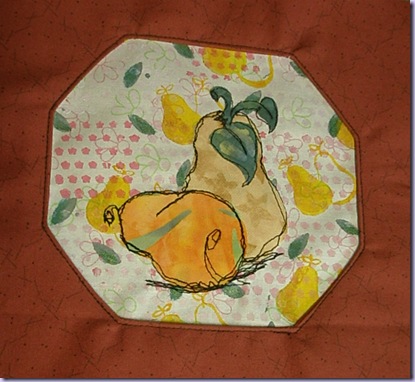
I did some free motion stitching, to “sketch” lines to emphasize the shapes.  Then I stitched this octagonal frame.  Here’s a close-up:

P7310005

Although I like the nice, crisp edge on this frame, it seems a bit too plain.

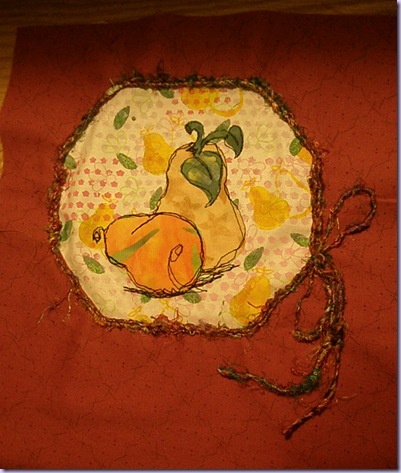
P7310009

Ah, yes . . . that’s better.  I may want to add something underneath the pears, but I’m happy with this for now.

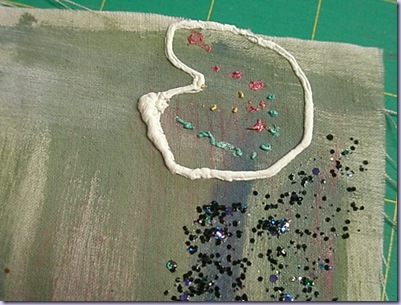
I have the other stamped piece for a future project, and I did play around a bit with other paints.  One I thought I’d share is Tulip Puff paint.

P7310008

It goes on using the tube applicator, and then you apply heat/steam after it dries.  It really does puff up!  Kind of interesting.  Now, what can I use that on, I wonder?

Wednesday, July 27, 2011

Wednesday WOW – July 27

Another hot day in Kansas.  Good thing I have lots of INDOOR projects!

P7270002

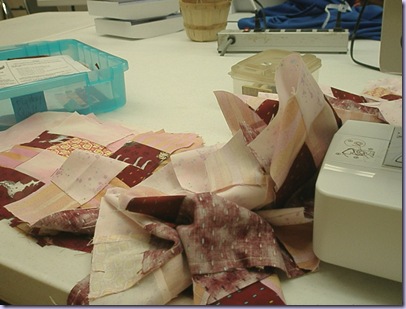
Like the Mystery quilt from guild . . . sixty blocks to assemble.  Well, I got half done anyway.

P7270001

And the last block of the Comfort & Joy Christmas quilt.  I will be ready to start working on borders pretty soon.  Kind of hard to think about Christmas when it’s 100 degrees out, but then, folks in the Southern Hemisphere celebrate the holidays in mid-summer all the time. 

Thanks goodness I was born in an era that invented air conditioning!!! 

Sunday, July 24, 2011

Sassy Sunday

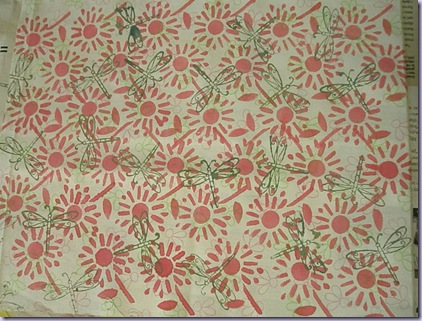
Here we are with another technique from the Fabric Embellishing book.  Today’s experiment was with fabric paints and rubber stamps!

P7240016

I used Dye-na-Flow by Jacquard to stamp the red flowers on this.  The paint is very liquid and I had to be careful with drips and running, but overall it was easy and fun.  Once the first layer had dried, I mixed yellow and blue So Soft fabric paint by DecoArt and stamped the dragonflies.  The So Soft paints are thicker and mix really well and are the perfect consistency for stamping. 

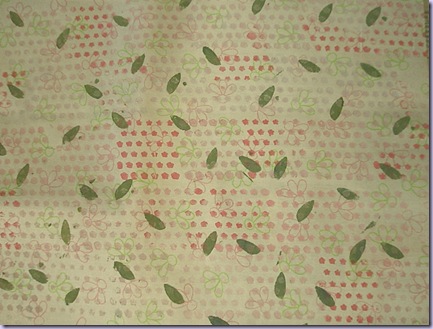
P7240017

This piece is mostly So Soft paints.  I used a background stamp of tiny flowers in rows.  I tried mixing some Tulip Colorpoint into the So Soft, but that paint is not meant to be thinned or mixed.  No success there!  I also tried some Duva powder pigments into white So Soft which gave me a very slight tint, but it would take way too much pigment to be useful.  I ended up loosely mixing the red Dye-na-Flow which gave the random tint you see here.  The leaves are using the same green mixture as the dragonflies. 

I need to let this dry thoroughly and then I will continue to add layers.  I still have some Pebeo Setacolor to try, along with some different Tulip paints. 

P7240018

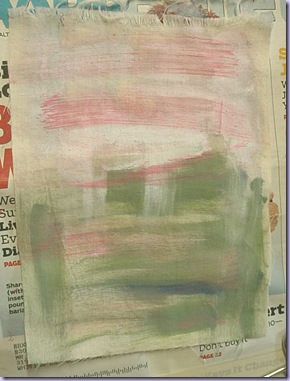
Oh yeah.  Before I washed my brushes, I painted excess paint onto a piece of unbleached muslin.  I’ll have to think of something to add to this.  It does have potential!

That was an interesting experience, but there’s lots of WIPs waiting my attention this week . . . some quilting, some hand stitching, etc., etc.  But next Sunday, I’ll be back to finish these pieces for sure!

Wednesday, July 20, 2011

Wednesday WOW – July 20

It’s been very hot around here lately.  You know this when you hear someone refer to a forecast of 92 degrees as a “cool spell.”  And they were serious!!

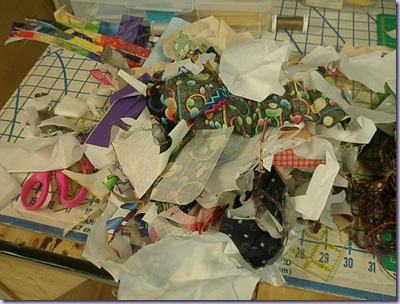
Well, it’s perfect weather for staying indoors and playing  working in the studio.  The theme for the August postcards is “confetti” or those snippets and threads that fabric lovers can never seem to throw away.  Oh boy – have I got a lot of that!

P7200001

Since I have too much to work with on a small project, I rummaged through and pulled only the fabric that had fusible web already on it.  That’s what that pile above is. . . just from one bag!

P7200004

So, I have some snippets fused down.  And, of course, I have some ideas for more “confetti” work so there’s no telling what (or how many) the final postcard will be!

The triangle piece on the left is one of the pennants I am making for another swap.  I gave those a little attention today, too.  Not sure what the next step is, though.  Guess I’ll have to let it simmer on the back burner for a bit! 

Monday, July 18, 2011

What happened to Sunday?

I can hear you asking that question.   You’re wondering what is going on . . . she promises to spend Sundays experimenting and show you what she comes up with – and then one month in and she’s a No Show?

Aaargh!  I did the experimenting and took pictures and even uploaded them.  Then, somewhere in the cerebral perambulations, the neurons assigned to actually post about it went walkabout!  Those neurons – can’t trust them these days!

Okay, okay!  That’s just a fancy way to say I Forgot!  I repeat . . . aaargh!     Now.  Moving on.

P7170001

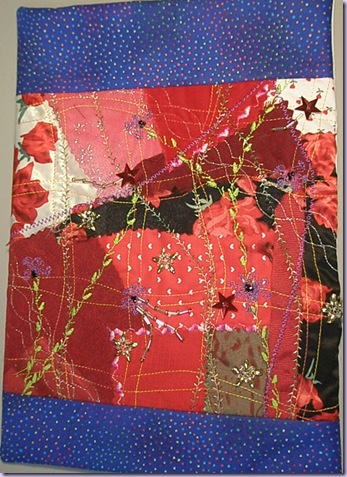
This is what I made.  It’s related to last week’s crazy quilting, but the book calls it “deconstructed crazy quilting.”   I tried to find out what “deconstructed” means, but it’s one of those terms borrowed from philosophy and trying to understand that left me in the dust!  So, to my mind, it means to take apart a traditional art form and reassemble it in a more contemporary manner.  At least that fits in this instance, sort of.

In this piece, I took small pieces of fabric and laid them down on fusible interfacing.  I chose red, because I have a small collection of various red fabrics:  taffeta, silk, satin, velvet, and of course, cotton.  The edges are all left raw (mostly cut with pinking shears) and after a light press, I stitched them down using my sewing machine.

P7170003

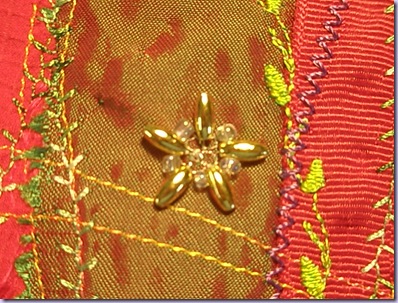
These little bead flowers have a center motif stitched with silver thread.

P7170004

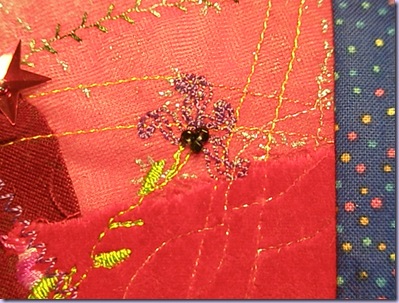
This style of flower (sorry for the lousy photo) took some practice as I selected a leaf motif and stitched one repeat, then rotated the fabric and stitched a single repeat, moving around until I had a semi-circle. 

Next week, the technique is stamping on fabric.  Oooh!  Doesn’t that sound like fun??

Friday, July 15, 2011

The Postcard Chronicles

After a vacation from trading postcards last year, I have been joining in once again.  However, I haven’t been very good about sharing them with you.  So, time (and beyond) to catch up.

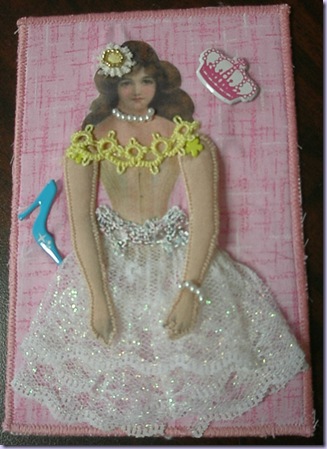
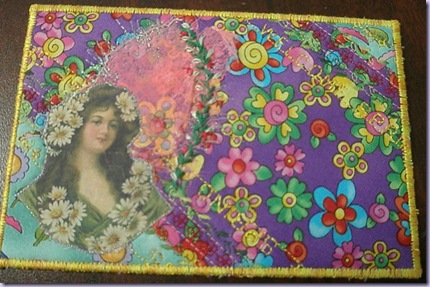
The theme for the first swap was “Girly”.  Now that sounded like fun!  So this is what I made for Teresa:

P4130007

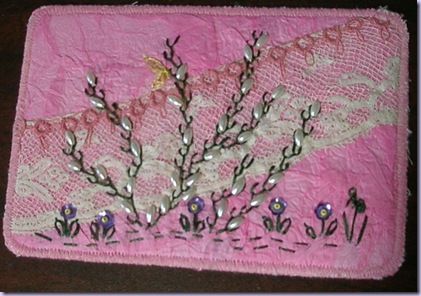
And I received this one from MaryLou:

P4290005

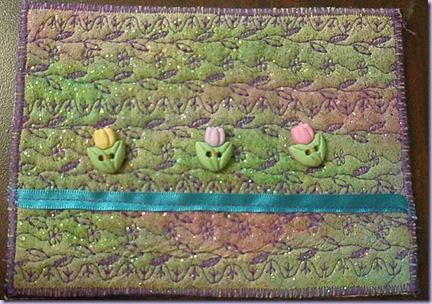
For the next swap, the group decided on a seasonal theme.  For most of us, it was Spring, but since some of our swappers are from Down Under, it could also be Autumn.

This is what I sent Michele in the UK.

P5040007

And I received this one from Linda in UK:

P6150004

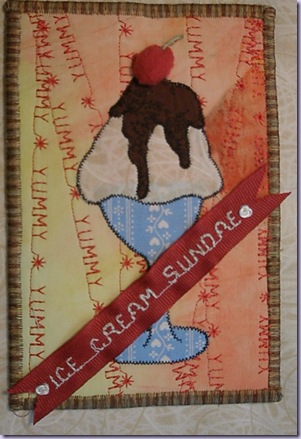
That brings us to June where the theme was “Sundae.”  My goodness, that sounded yummy!  In fact, that is what I stitched all over the background of this card.  It went to Linda in UK:

P6200003

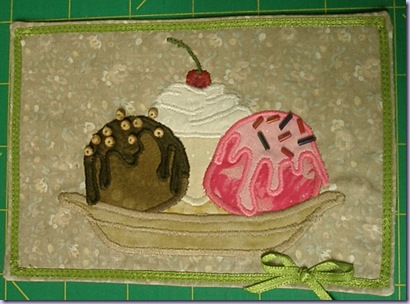
And I received this from Cat in Canada.  Doesn’t that look good enough to eat?

P7050004


July’s theme is “Fairy Tales.”  Got to get my thinking cap on!

Wednesday, July 13, 2011

Wednesday WOW – July 13

Lots going on this week outside my studio.  But I am getting a few things closer to done.

P7120001

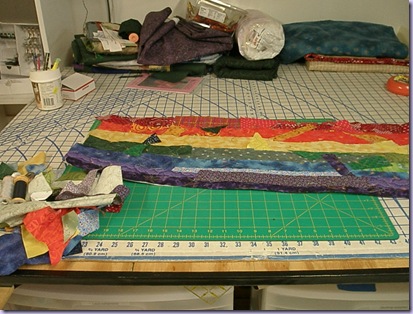
For instance, this rainbow piece that will become background for a swap.  More on that to come. 

Sunday, July 10, 2011

Sunday Smash

Here we are with another “smashing” Sunday project!  Actually, I did not get as much accomplished today as I had planned.  But it was a successful day because I have a BIG FINISH!

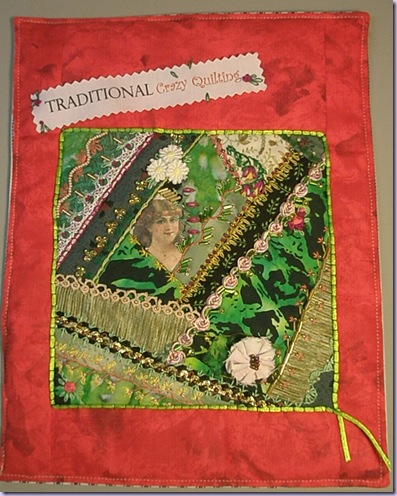
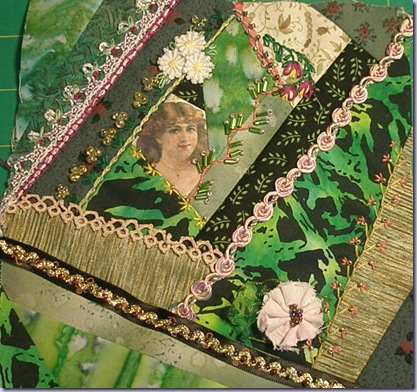
finishedCQ

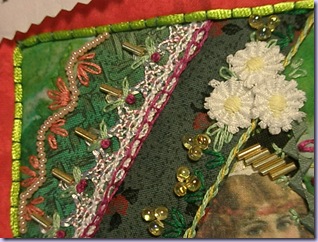
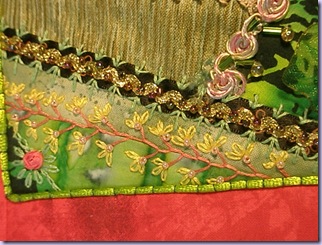
A couple of close-ups for you:

P7100003

P7100002

Although this page took quite a few days to finish, I really enjoyed the process.  I did some reflecting on the whole crazy quilt thing and came up with some things to consider in the future.   I am sharing these – not because I think you need the information or even care (!) – but so that I will know where to find it when I venture into crazy quilting again!  And I’m pretty sure I will be doing some of this again.

  1. By embellishing the seams in the order in which they were stitched, cross over places should be easier to stitch.
  2. Keep reference materials nearby.  Stopping to go look for more ideas just doesn’t do it for me!
  3. Be sure to keep these tools handy:  ruler, erasable marker, circle template, add-a-quarter guide. 
  4. Stabilize the ends of loose trims by wrapping tape around the end before cutting.  Cut long, so that the taped end will be cut off after a border (or whatever) is sewn.
  5. Mark outside seam allowance so that I’m not stitching over beads when finishing.
  6. See if I can come up with some way to contain all the mess! 

Well, that’s it.  Next Sunday I’ll be ready to move to the next technique – Deconstructed Crazy Quilting.  Doesn’t that sound interesting?

Wednesday, July 6, 2011

I Found It!!!

I really do like to give credit when I –um, borrow – an idea from someone. 

P7020001

Last week I told you that somewhere I had the blog name where I found these corn blocks.  Tonight I finally found the post on Kim’ Big Quilting Adventure!  If you like this block, tell Kim, not me!

Wednesday WOW – July 6

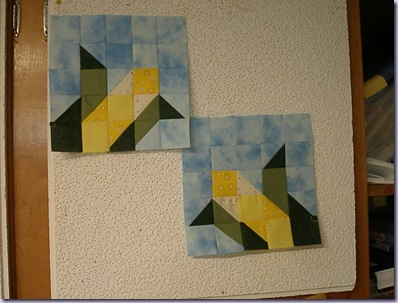
Another Wednesday spent at the quilt shop.  I’m still working on a Kansas themed set of blocks.

P7060001

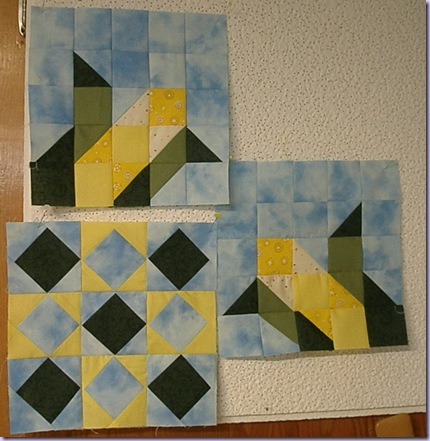
This block is called “Kansas Troubles” . . . and trouble is what it gave me!  But at the end of the day I have two of them, plus one Kansas Star.

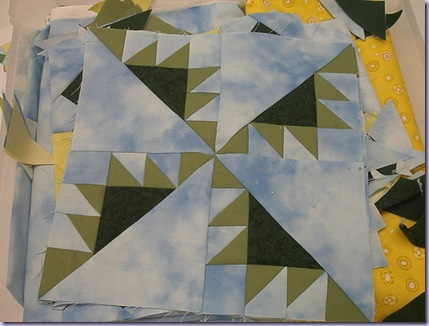
P7060002

Earlier this week, I made a second ear of corn and the first Kansas Star.

P7020002

I think I’m ready to start working on the applique blocks.  Oh my!  This could get interesting!

Sunday, July 3, 2011

Sunday Special – Part Two

As I promised last week, I spent today embellishing my crazy quilt block.  

P7030006

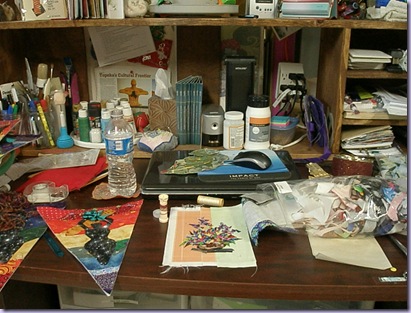
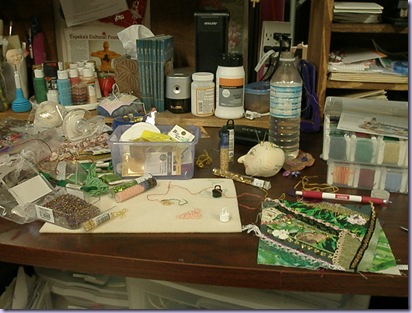
It sure is a messy process!  This picture does not do justice to the array of threads and beads and lace strewn willy nilly all over my workspace.  Who’s going to clean that up?  Oh.  Yeah, that would be me!

sundayjuly3-02

This is how the piece looks as of this afternoon.  There are some seams still bare and I have lots of ideas to build on the stitching I’ve done so far.  In fact, I don’t think it’s possible to over embellish a crazy patch, is it?

This is so much fun!  I can see why so many people love this style.  I just have one question . . . how do you stop????