Sunday, December 18, 2011

We interrupt this program . . .

Due to a variety of reasons – family issues, appointments, and . . . oh yeah!  Christmas! – I will be suspending the Silly Sunday posts for a couple of weeks.  Maybe Wednesday WOW, too – haven’t decided yet.

Never fear, though.  I will return after the holidays and we will get back on schedule.  In the meantime, here’s wishing you all a Merry Christmas and a happy Happy New Year!

christmas-pointsettias-graphicsfairy010

Wednesday, December 14, 2011

Wednesday WOW – December 14

I’ve been really disorganized lately, with half-a-dozen projects in progress but not making much headway.

PC140003

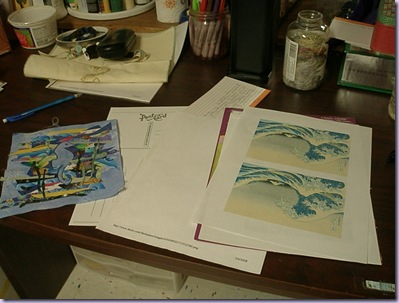
That’s why I was really pleased to finish two postcards today!  I joined a birthday postcard exchange for 2012, so these are for next month and it feels pretty good to be ahead of the game for a change.  Of course, there are all those half-finished projects . . . still waiting!

Sunday, December 11, 2011

Sparkling Sunday

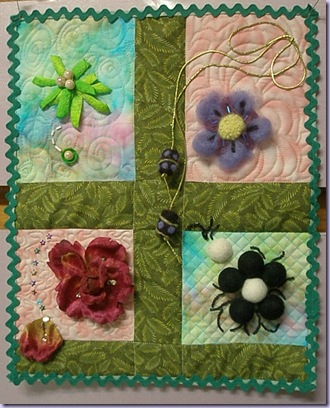
Before I talk about this week’s technique, here is the finished page from last week’s wool and silk experiments:

PC050001

I didn’t add a lot of beads . . . just enough!

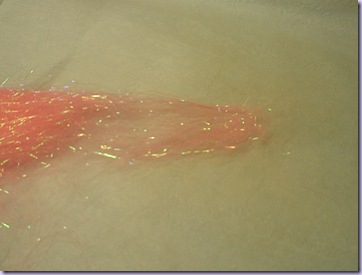
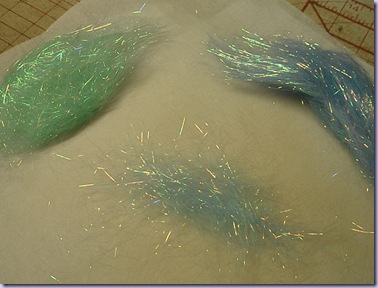
Today the topic was sparkly fibers known as “angelina.” 

PC110005

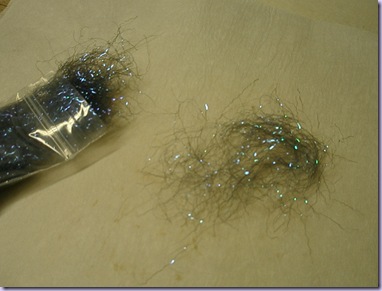
These fibers come in a variety of colors and when you apply heat – as with an iron – they melt and bond to each other.  This material comes in sheets as well as some larger fibers than I had today.

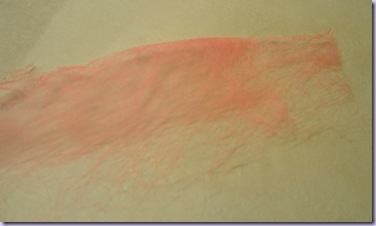
PC110006

After I pressed these between two sheets of parchment, they formed a sheet that can be folded, stitched, and generally used like a piece of fabric.

PC110009

One of the interesting things with angelina is that you can combine colors to make a new one.  The color doesn’t really change, but when you mix and blend the individual fibers, your eye sees a new color.

PC110010

This sample has a crinkle cut to it.  It makes the same kind of fused fabric, but it seemed to hold onto the sparkle a bit better.  I did discover that angelina will start to lose sparkle if it is ironed too much.  It’s still pretty, though!

PC110003

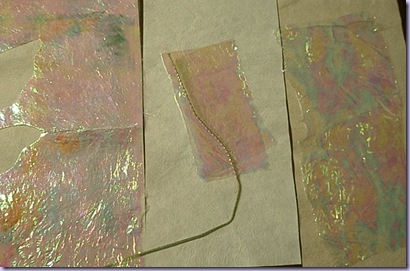
I also had some “fantasy film” which is kind of like cellophane.  When heat is applied to this material, it also bonds to itself, plus some interesting colors form.  The piece on the far left has angelina fused between two layers of the film.  It makes wonderful fairy wings! 

PC110012

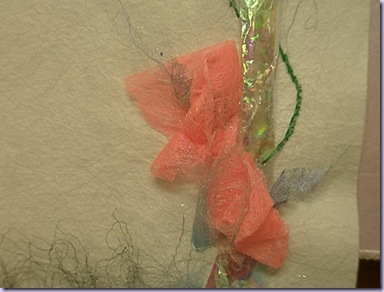
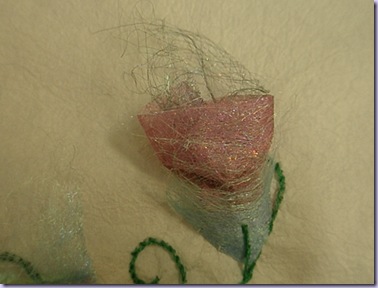
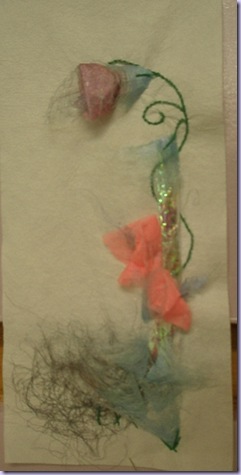
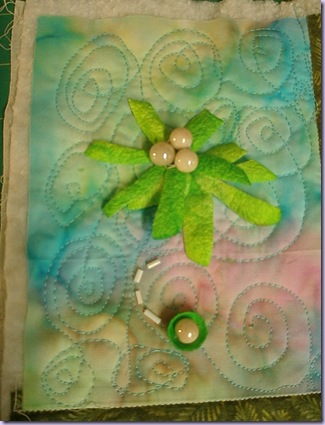
I’ve used angelina as a flat embellishment many times, so today I decided to try using it as a 3-dimensional embellishment.  I folded a piece of the salmon pink longwise and stitched a gathering stitch on the long edges, stuck a wisp of darker in the center, and stitched them to a background.

PC110013

I cut the green piece into triangles and shaped them by rolling each piece against the table edge.  It worked sort of like curling ribbon.  Those were my leaves.

PC110015

And here is the finished piece.  I will be combining it with some of the other “chapters” to make a full page later on. 

By the way, that background?  Used color catchers from my laundry.  I just knew there would be a way to use some of them!

Wednesday, December 7, 2011

Wednesday WOW – December 7

Oh boy, I almost forgot to post this!  Took the picture – check.  Upload pictures to computer – check.  Compose post – uuuh, no.  Must have gotten distracted.  What an airhead!

Now that I’m finished beating myself up, here is what I worked on today.

PC070007

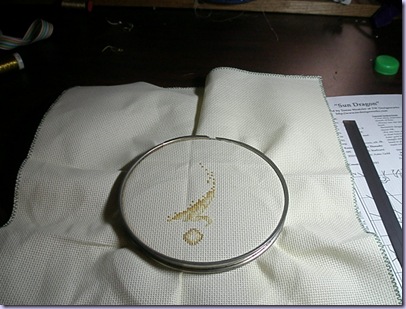
Yeah, I know.  Doesn’t look like much yet.  I can’t remember the last time I did any cross-stitch either.  Well, not quite true . . .

aquarius

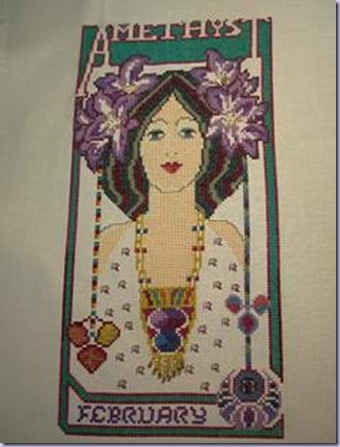
I finished this piece almost two years ago.  I really like it.  Some day I’ll even put it in a frame and hang it somewhere! 

I didn’t have much studio time after a day of errands, so I decided a little cross-stitch would help me relax and it’s a project with no deadline or pressure.  A bit rare this time of year!

Sunday, December 4, 2011

Satisfactory Sunday

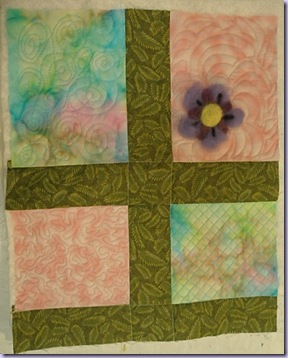
Another Sunday, another embellishing technique.  Today I worked with wool beads and silk cocoons and mulberry paper flowers.

PC040001

First I prepared the background for the embellishments.  I used the fabric from last week’s needle felting and pieced it with a blue batik and practiced a couple different styles of quilting.

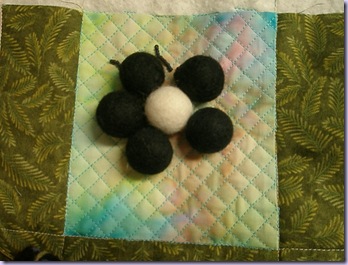
PC040008

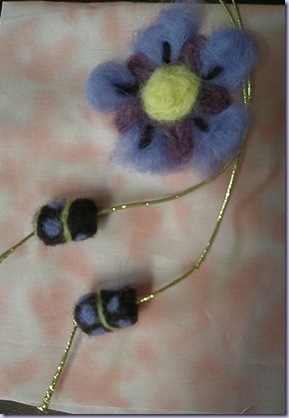
Then it was time to play!   First I stitched wool balls/beads down in a (lopsided) circle.  I added some beads (which you can barely see) and I will be doing more beadwork on this.  There’s only so much time in a day!

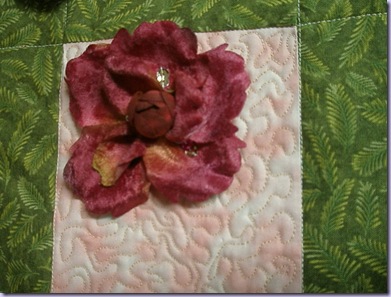
PC040006

Then I used flower petals made of mulberry (I think) paper.  The directions called for individual petals, but I cut them from a flower I had.  Of course, then I stitched them back together as a flower.  Now that made sense!  This one has some sequins in the petals, but will probably get some more beading, too.

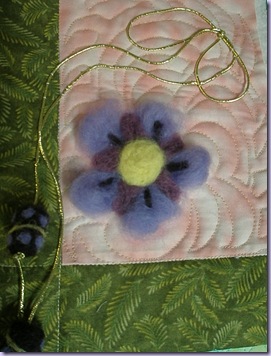
PC040005

For the needle-felted corner, I couched down a bow in gold cord I had threaded through the beads – also from last week.  I think you can guess what’s next . . . I want to add beads here, too!


PC040004

This one is my favorite.  I cut a couple of silk cocoons and flattened them out and stitched three large beads.    I soaked one cocoon in water first, but it did not seem to make much difference in how the material cuts and stitches.  Then I took a fourth bead and cupped it with the end piece of a cocoon.  With those four bugle beads, I think this one is perfect like it is.  Surprised you, didn’t I?

PC040003

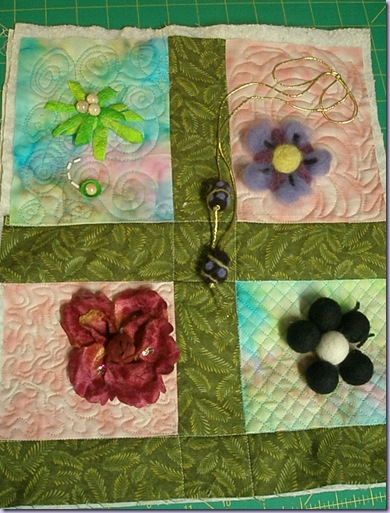
And here is the full piece.  Yup, definitely needs more beads!  While I’m not in love with the wool beads, I would like to experiment with some smaller sizes and combine them with glass beads or sequins.  I will definitely play some more with the silk cocoons.  They have been showing up everywhere lately, but this was my first experience with them.

The flower petals?  I don’t know.  Maybe I should just keep the flower in one piece and use it that way.  Sure would be quicker.  LOL!

Saturday, December 3, 2011

Thief!

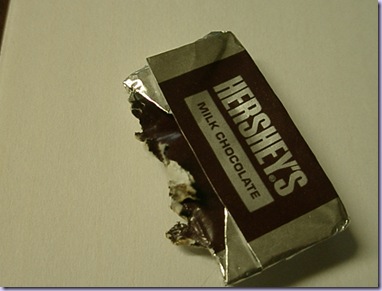
Those who know me probably know that I am a serious Chocoholic.  That is why I was quite disturbed to find this in my cupboard.

PC030002

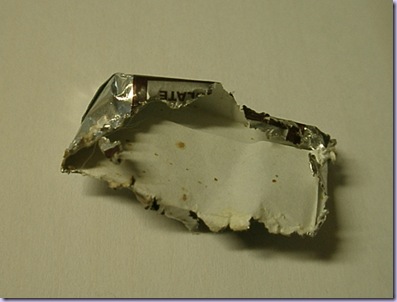
Over the years there have been mice, gnats, ants, even scorpions (ugh!) that have invaded my living and/or working quarters.  I can generally cope fairly well (unless it’s a spider, of course!) and just move on.

PC030003

But to go after my chocolate!  This is NOT acceptable!!!!!

Little mousie, your days are numbered.  This means war!

Thursday, December 1, 2011

‘Tis the Season

Bah, humbug . . . and all that stuff.  I’m not there yet, but here is a little vignette that may help:

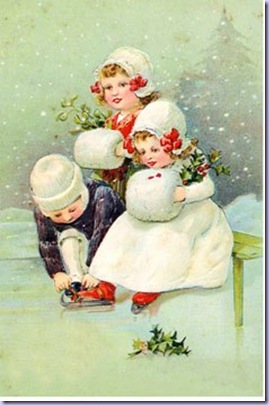
lil skaters

Aren’t they sweet?  This is one of the Holiday downloads from Lisa at Ten Two Studios.  This is the sixth year she has provided great clips like this as a countdown to Christmas.  I subscribe to Lisa’s Monthly Muse newsletter and it is always packed with crafty ideas.

OK.  Maybe I’ll get into the Christmas spirit after all!!

Wednesday, November 30, 2011

Wednesday WOW – November 30

If today is November 30, then December must start tomorrow!  Christmas is fast approaching, but am I working on Christmas projects?  Of course not!

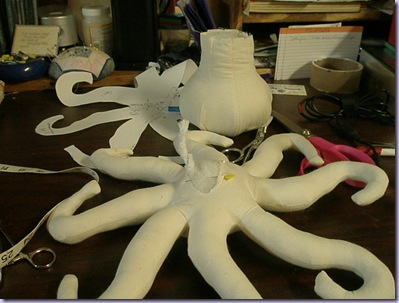
PB300003

I’m working on a doll – er, sort of.  I can hear you thinking, “ that looks like . . . “

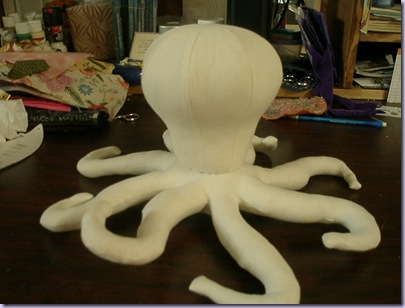
PB300006

Yep!  It’s an octopus!  I can’t tell you how much fun I had stuffing those eight octopus arms!  LOL!  I’ve been wanting to do something a little different, and this pattern spoke to me.  It should be interesting to see how it evolves.  It could go Christmasy, but I’m thinking not.

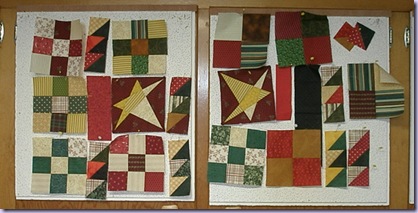
PB280001

About the only thing I have that could be Christmas are these leftover blocks from the Comfort and Joy quilt.  I may do something with them . . . eventually.  Right now, they are just decoration.

What do you do with orphan blocks?

Sunday, November 27, 2011

Stick-y Sunday

Or maybe the title should be “Stabbed Sunday” because today I used a sharp implement, and I always manage to puncture myself when I’m around sharp things!

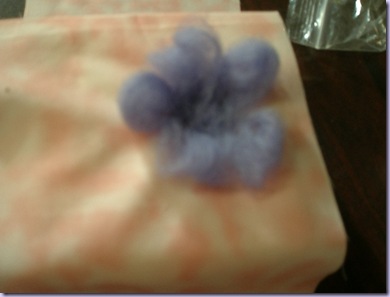
PB270012

Today’s technique is needle felting.  That photo is not really fuzzy . . . the subject was fuzzy!

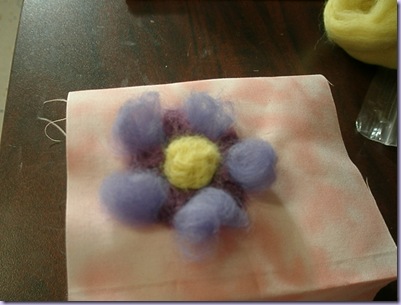
PB270013

OK, does this look better?  This is about half way in my afternoon with wool and a felting needle.  Felting needles have barbed, triangle shaped tips and you use them to stab into wool roving so that the fibers attach to a surface and/or to each other.  They are very sharp!

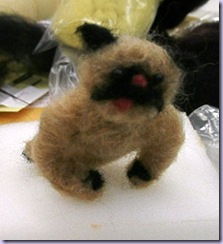
my-pug

I’ve used felting needles to attach or style doll’s hair and earlier this year, my doll club had a felting session where I made this pseudo-pug.  But today was my first serious attempt at felting onto another piece of fabric.

PB270014

After I completed the flower, I made a couple of wool beads.

PB270016

And, yes, I stabbed myself.  Several times.  But I didn’t draw blood!  At least not today and that makes it a good day!

Thursday, November 24, 2011

It’s All About the Y

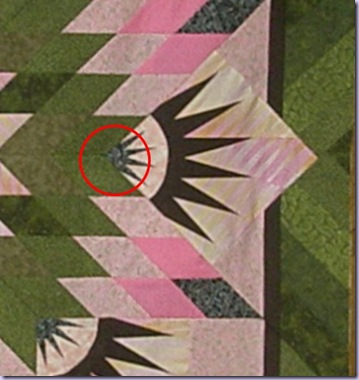
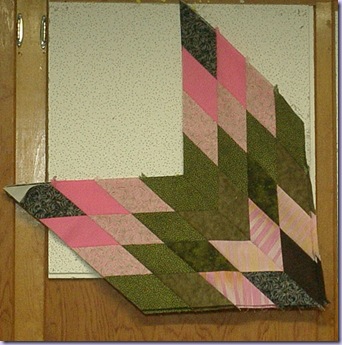
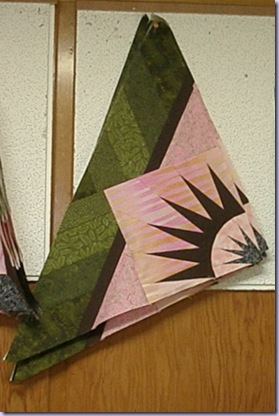
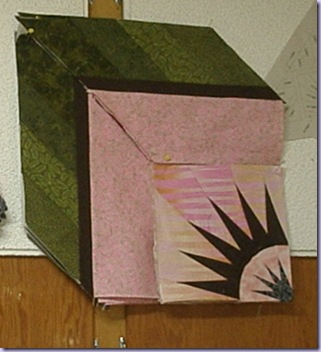
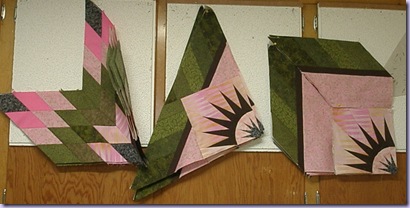
If you have done much quilting at all, you have run across something called a Y-seam.  Basically it is a point where three seams come together, forming a 3-pronged line. . . kinda like a “Y”

y-seam

There are tricks to stitch this junction so that it is smooth and even and it isn’t really complicated.  But I guess there’s no other way to say it . . . I HATE Y-seams!

In the past, I have found many methods and techniques that I struggled with and did not particularly enjoy doing.  But, by sticking to it and practicing, I can usually conquer said method or technique so that it’s not so bad.  Sometimes I’ve even learned to enjoy what I previously avoided.

Not with Y-seams.

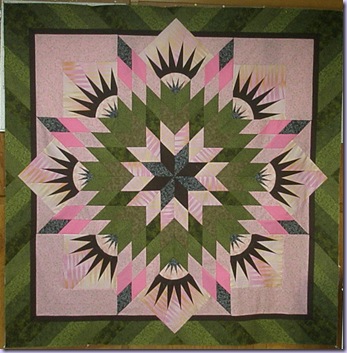
And guess what?  This little beauty has TWELVE of them!

PB180003

What was I thinking???  Um, I guess I wasn’t.  At least not about Y-seams.  I was so focused on getting all those spikes to lay right and match up all the points in the lone star – I didn’t think about how it would all go together.

But, go together it did and I’m really tickled – er, pink!  I can’t stop looking at it.  It is so worth all the work.

All except the Y-seams.

Wednesday, November 23, 2011

Wednesday WOW – November 23

PB230002

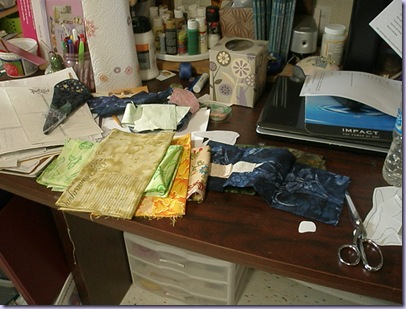
Kind of a lazy day, but I did get a postcard made.  Here are some of the fabrics I selected for it.

PB230003

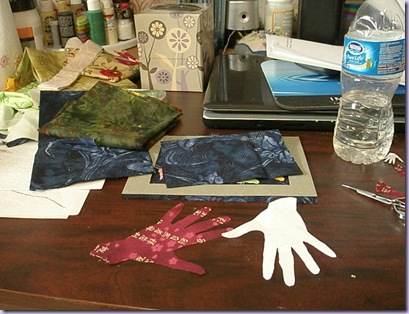
And those are some of the others.  The theme is “hands” – thus the hand pieces you see there.  I did some fusing and some stitching and it is almost finished.  No mail service tomorrow, so it won’t get mailed until Friday.  Once it has arrived at its destination, I’ll show you the end product.  I have a few postcards to show you from the past couple of months.

And tomorrow is Turkey Day in the US!  The holidays are upon us, people.  What have you got planned?

Sunday, November 20, 2011

Soggy Sunday

PB200005

The soggy part, however, is at the end of this week’s technique.  So, let’s back up a little bit.

The technique is Thread Lace.  The book breaks the methods into two types:  grid and lace.  I did both today.
PB200001

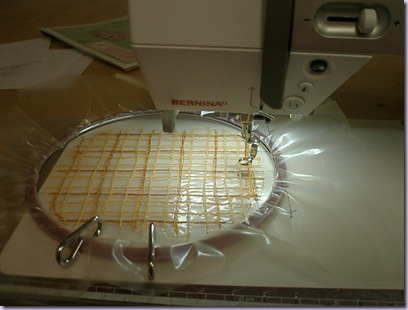
I cut a piece of water-soluble stabilizer (BadgeMaster in this sample) just a bit larger than my hoop.  I dropped the feed dogs and used a Supreme Slider to cover the surface, then began stitching a grid. 
PB200002

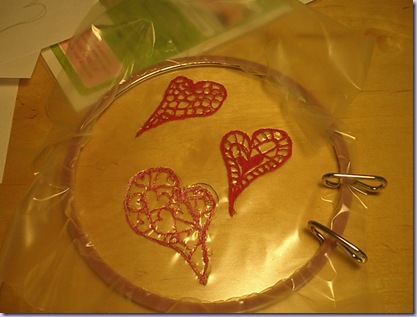
Then I drew some hearts and stitched around the perimeter and through the insides.   Instead of a grid, though, I experimented with circles and other shapes.
PB200003

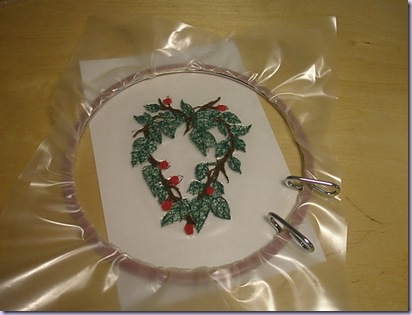
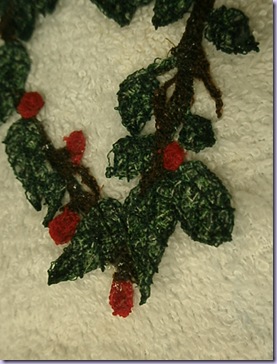
Then, I went for something more complicated!  I found a heart-shaped wreath pattern in one of my embroidery books.  Using the general shape and feel, I sketched leaves and berries and used several different colors of thread.  This piece took much longer to stitch than the other two, but it is also much heavier as well as detailed.  Because of that, I used two layers of the soluble stabilizer.

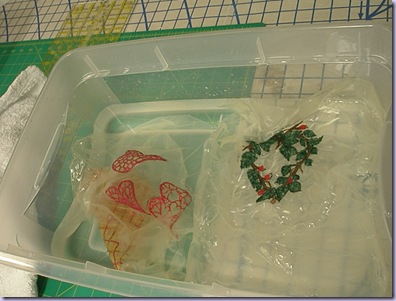
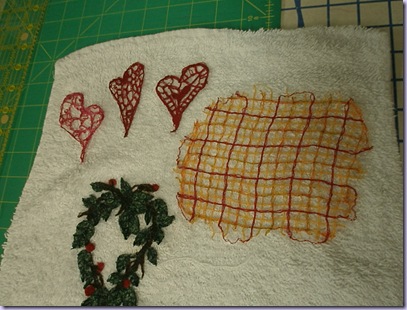
Then I slipped them all into a basin of water and let them soak for awhile.  If I were doing this again, I don’t think I would put all four sheets in at the same time.  That water got pretty sloppy!
PB200006

I spread the pieces onto a clean towel to dry overnight.  If I got all the stabilizer out, they should be nice and soft and flexible.  If they are too sticky/stiff after drying, I can soak them again.
PB200007

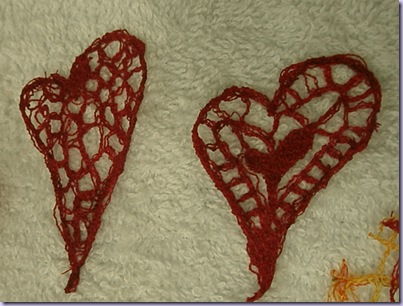
Looking at the two smaller hearts, they are pretty successful.  The one on the right was especially good at holding its shape.
PB200008

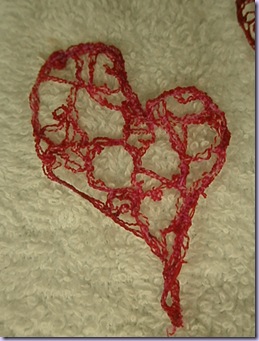
This one did not fare as well.  It came out of the water all curled up and you can just barely see a few heart shapes inside.  I stitched each internal shape twice.  Apparently that is not enough!
PB200009

The leaves turned out almost perfect, though.  I’m quite pleased with this one so far.  Because there is so much thread in this, it held its shape much better than any of the hearts, yet there is still enough showing through the leaves to suggest the lacy quality.

I will be adding these to backgrounds or using them as inserts or something.  I’ll let you see what I do with them, so do come back.  And come see what’s in store for next Sunday!

Wednesday, November 16, 2011

Wednesday WOW – November 16

It was a very busy day, but I got quite a bit accomplished.

PB160001

The lone star units are all stitched and paired.  Almost all the points match!!  I was amazed!

PB160002

Then I got all four side pieces stitched.  Not without a struggle, though.  My trusty seam ripper got a workout today.  LOL!  Too many distractions, I guess.

PB160003

Next are the corner units.  Those three pieces are not stitched yet.  I took a look at the ‘Y’ seam and decided late afternoon is the worst time to tackle it! 

PB160003

It’s amazing that this whole project is essentially these three segments – four of each.  At this point I can ignore the fact that it took five days to get here. 

So, that’s what my worktable/design wall looks like today.  Between this, roofers, cable repairman, and dog duty, it was really quite a day.  I’m heading for my easy chair!!!

Tuesday, November 15, 2011

What I Did on My Vacation

Well, maybe “vacation” is not the right word.  After all, I did not leave home, except during the day.  I went to a 3-day quilting class conducted by my local quilt shop.

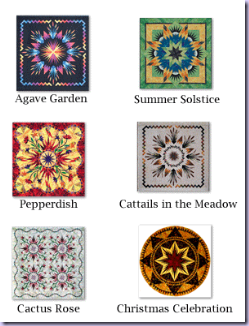
They are certified to teach and sell Judy Niemeyer patterns and that was what they did!  These quilts are made using foundation paper piecing and they look very complex.  Frankly, I had my doubts about being able to make one of the six patterns we had to choose from.

patterns-collage

See what I mean?  (I snagged this picture from the shop’s web site.  Hopefully they won’t mind!)

PB130011

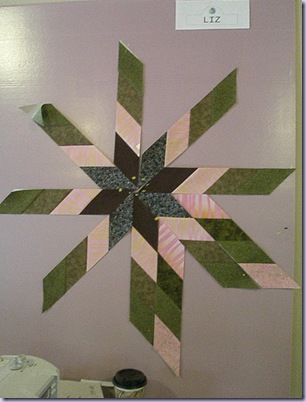
I chose the design called “Summer Solstice” and here you see the beginnings of the lone star that is the center of the quilt.

PB140001

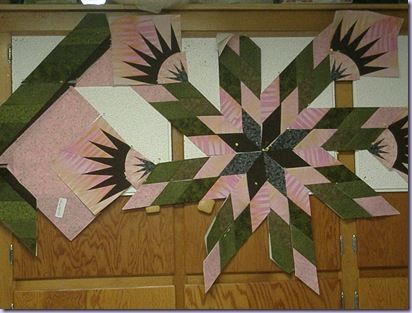
This is what mine looked like at the end of the third day.  Just imagine there are four corners on the outer edge, and eight sets of spiky blocks.

PB140005

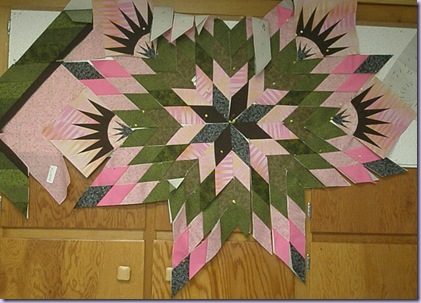
Yesterday, I finished sewing all the lone star elements and now I am ready to start sewing sections together.  It has been exhausting!!

PB110001

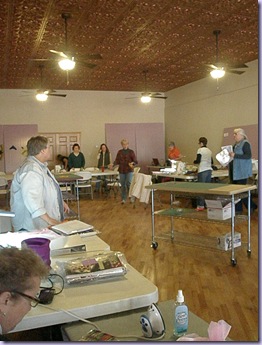
Here’s a candid shot of our group getting settled in.  We haven’t started making a mess, yet!  There were thirteen of us, but I don’t think it was an unlucky thirteen!  It was great to have other stitchers to share the misery and celebrations as we learned a different method. 

I want to say publicly that Mary, Connie, and Mark did a great job of setting up this session.  We were fed very well for three days and got complimentary massages, some wine on Saturday night, and a lot of laughs.  Oh yeah . . . and we sewed, too!