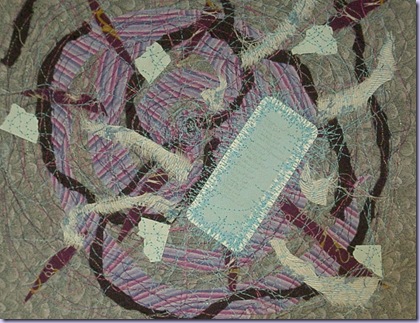
I have been working on postcards lately and I thought I would give you a blow-by-blow account of how it's done. Mind you, I am not saying this is the RIGHT way to do it. It is just how I do it - most of the time - and so far it has been working.
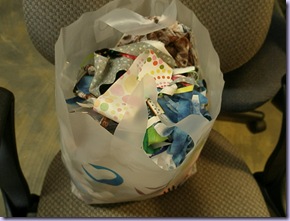 I usually start out with some scraps. This is a bag that I keep next to my work table and as I work, scraps too big to throw away go here. OK, make that ALL the scraps! The idea is that when this bag is full I will make postcards. Heh, heh. Just don't ask how many bags I have like this!
Back to postcards. I like to use muslin as a background (cuz I've got lots!) and cut a 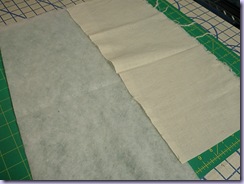 piece large enough for several postcards. This piece is about 8" x 18", but 12" x 12" works nicely as well. I lay the muslin on a piece of Timtex or Pelmet or Vilene. Some type of heavy duty stabilizer - whatever you usually work with.
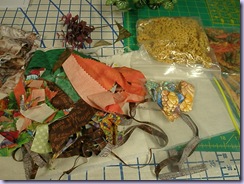 The next step is to gather up a collection of fiber scraps and threads, ribbon, trim, and such. Pull together a color scheme that you like, or pick something to fit a theme. On this project my theme was Autumn.
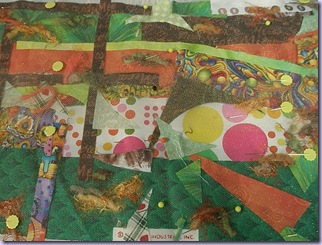
Now, cut snippets, arrange scraps, layer threads, and generally play with your collection. You want to completely cover the muslin. You are making a fabric collage and it can be as wild and crazy or as sedate as you like. Don't obsess about making a "picture" as such. There will be more to come. When you are pleased with the layout, cover the whole piece with a layer of netting or chiffon. I used a pale cream color here, but another color would make subtle changes in the over all piece. Pin things in place, especially around the edges to keep shifting minimal. Again, don't obsess - a little movement is going to occur and that is part of the fun!
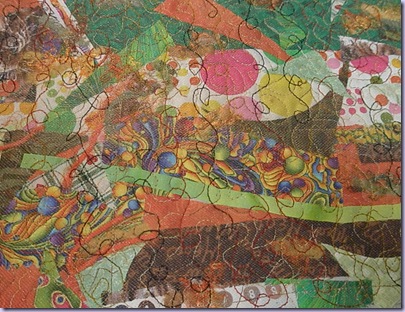 Carefully carry this piece to your sewing machine. Set up for free motion embroidery and go to it! As a precaution, I like to do a basting stitch all around the edges, but then it is all as the whim takes me. I usually do multiple rounds with different threads and different stitch patterns. This is where I have the most fun!
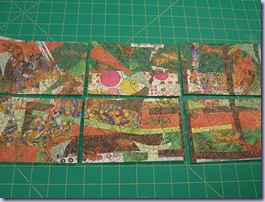 Once I have worn myself out with stitching, I cut the piece into 4" x 6" postcards. The smaller pieces now look quite a bit different, don't they? Now you can study each postcard and decide which way is up, what does it need for embellishments, etc.
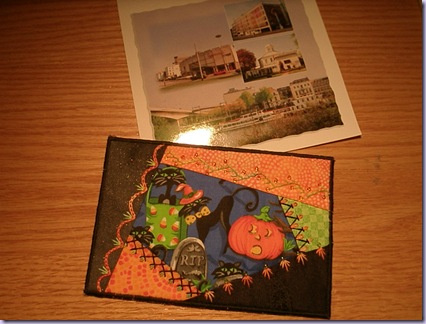
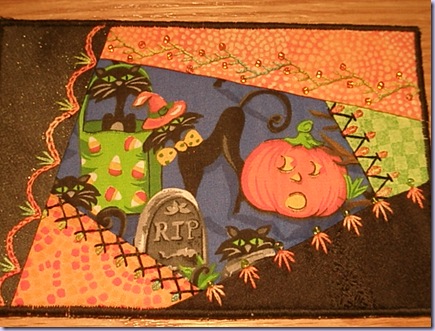
Sometimes, I will leave a postcard at this level. 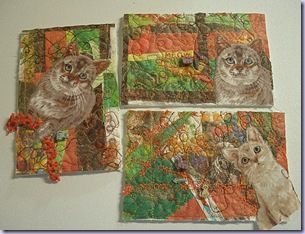 But not very often! For half of these, I put fusible web on a cat fabric and then carefully trimmed out three of the kitties. A piece of tatting just begged to be included on one of them. There are small fish bone buttons that I also added. One of the fabrics has "Meow" printed on it and I also used my sewing machine's alphabet function to stitch the word here and there.
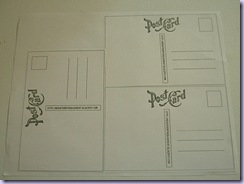 We are almost done! But the cards need a backing. I have made myself a master sheet with three postcards printed on it. The postcard back says "Postcard" (Postal Service wants that) and my blog address down the center. I put a sheet of printable fabric in the copier and run off just the number of backs I need at the moment. The printable fabric is iron-on, so when I iron them onto the postcards, the heat also sets the ink. If you print on an inkjet, it doesn't need to be heat set, but I also use a sheet of parchment to protect my iron plate.
The last step is to zigzag around the edge of each card You can get creative with thread here, too. A variegated will give you stripes! Be sure to stitch around at least twice so that the edge is nice and neat. OR, you could use a single round of a wider zigzag - or buttonhole - or hand stitching. Whatever sounds like fun at the time!
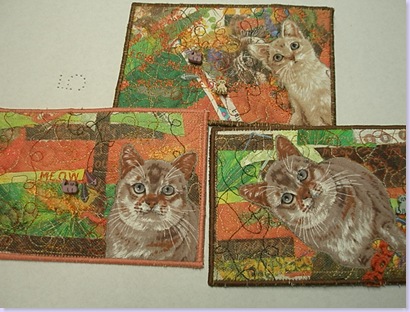 So there you have it. As I said, this is just one way and I'm sure there are lots of methods for making fabric postcards. I try to have fun with mine. The real fun is to find someone to swap with! And I hope the recipients enjoy the end product.
Gotta go now. More postcards to make!
This is post number 98. The excitement is building! Don't forget to sign up for the celebration giveaway by going here.


